Night Vision Goggles - NURBS

User avatar
clintonman
Captain
Posts: 5659
Joined: 21 May 2009, 21:08
Type the number ten into the box: 0
Location: California

Night Vision Goggles - NURBS

Post by clintonman »

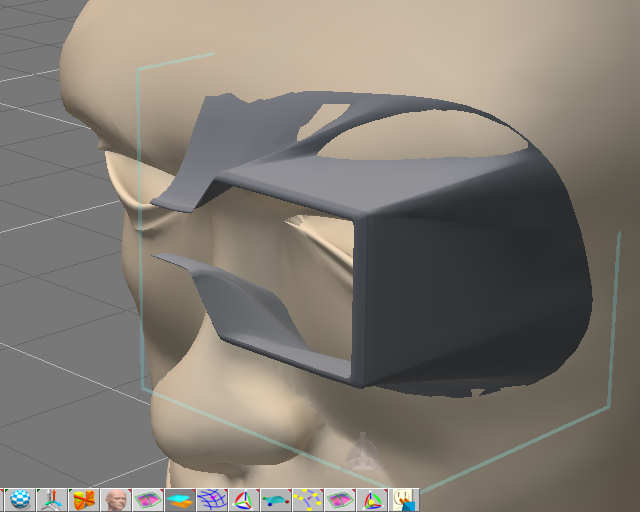
I decided to follow a NURBS modeling tutorial for Maya, but using trueSpace. It will be a model of cartoon style night vision goggles. I started by follwing along doing the same thing as the instructor. He starts out by drawing curves on the surface of a head model and then skinning them to make a patch. I was able to follow along but it fell apart when I did the skinning step.
threeHandlesAtCorners.jpg
threeHandlesAtCornersCurves.jpg
threeHandlesAtCornersCurves.jpg (14.97 KiB) Viewed 9047 times
The problem was the the instructor was using a different method to create the curves and so I had too many controls at the corners. He had 3 so I put 3.
So I figured I would use 1 control at each corner and the handles would act as the other 2 points of lesson.
Clinton Reese

http://clintons3d.com
User avatar
clintonman
Captain
Posts: 5659
Joined: 21 May 2009, 21:08
Type the number ten into the box: 0
Location: California

Re: Night Vision Goggles - NURBS

Post by clintonman »

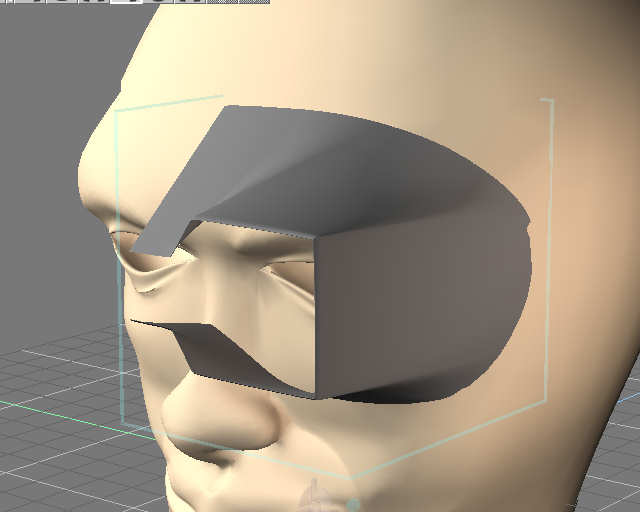
The second attempt I ended up using the workspace scripts to create the curves. There would be a control at each corner and it was easier for me to make the curves in workspace. I also reduced the number of profile curves of the eye opening to just 2. Before there were 4 curves. The result was better but still not right.
oneHandleAtCornersBent.jpg
oneHandleAtCornersBentCurves.jpg
oneHandleAtCornersBentCurves.jpg (13.58 KiB) Viewed 9049 times
The corners are still too sharp and it looks like it's slopping downward.
Clinton Reese

http://clintons3d.com
User avatar
clintonman
Captain
Posts: 5659
Joined: 21 May 2009, 21:08
Type the number ten into the box: 0
Location: California

Re: Night Vision Goggles - NURBS

Post by clintonman »

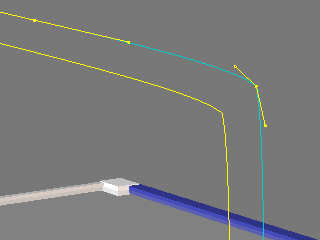
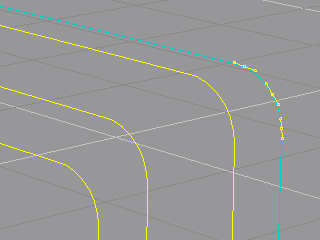
Third times the charm. I finally got the result I wanted by making the curve point handles line up in a straight line instead of bending. The control handles are straight and scaled down on size to get a corner.
oneHandleAtCornersStraight.jpg
oneHandleAtCornersStraightCurves.jpg
oneHandleAtCornersStraightCurves.jpg (14.06 KiB) Viewed 9051 times
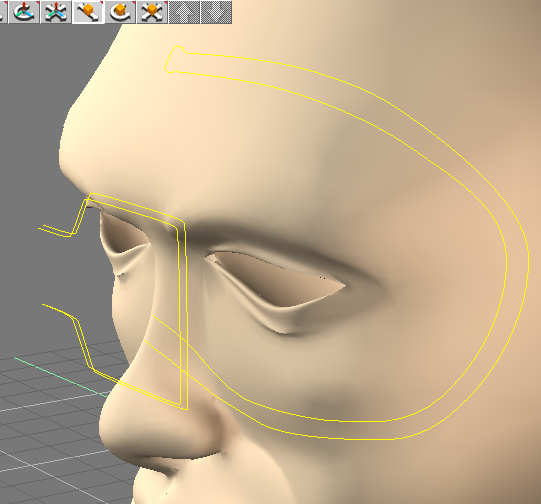
At this point I discovered a flaw in the workspace freeze transform script. I was getting strangely shaped curves when I exported from workspace/imported to modelspace. The curves came in properly after it was fixed. In the next step of the lesson the instructor does a lathe type action on a curve. Truespace can do this but converts it to a polyhedron object. I think I can simulate the same action with a new plugin. There is a version of loft surface in the SDK that seems to have more control than the button command. The idea is to use a circle as a loft path. We'll see how that goes.
initialCurvesToMS.jpg
Here is a pic of the final curve network for that part of the model. Created in workspace and exported to individual cob files and imported to modelspace. 3 of the 5 curves were used in the skinning shown.
Clinton Reese

http://clintons3d.com
User avatar
clintonman
Captain
Posts: 5659
Joined: 21 May 2009, 21:08
Type the number ten into the box: 0
Location: California

Re: Night Vision Goggles - NURBS

Post by clintonman »

Lessons learned so far:

When skinning straight handles on the curves are better than bent handles.
A Maya cv curve is not the same as a bezier style curve.
When using the curve library for the first time it is thin and stuck to the side of the interface. If you insert a few curves and make the library shorter and then wider you can get access to the title bar and move it around.
The skin tool eats the curves in the process.
Loft can be used to simulate a revolve/lathe action, but it acts on the geometric center of the profile curve.

Bug in the freeze transform script(fixed)
Workspace curves are awkward in the LE because 3 nodes are needed for each curve. This needs to be cleaned up.
tsxPipeSurfConstruct from the SDK looks like loft but any point in space or along the curve can be set as the center of the profile.
Clinton Reese

http://clintons3d.com
User avatar
Draise
Captain
Posts: 3200
Joined: 21 Sep 2009, 19:33
Type the number ten into the box: 0
Location: Bogota, Colombia

Re: Night Vision Goggles - NURBS

Post by Draise »

This is an incredible read, and great process and progress! thanks Clinton, you're legend. I don't do too much NURB modeling, but when I do I'll keep all of this in mind! Thanks.
v3rd3
Lieutenant Commander
Posts: 1191
Joined: 21 May 2009, 20:04

Re: Night Vision Goggles - NURBS

Post by v3rd3 »

Thanks for sharing this clinton.
DarkScythe
Senior Chief Petty Officer
Posts: 243
Joined: 23 Sep 2009, 08:57

Re: Night Vision Goggles - NURBS

Post by DarkScythe »

nice clintonman... I have a hard time using nurbs in modelside good to see a step by step procedure. :bananaguitar:
User avatar
clintonman
Captain
Posts: 5659
Joined: 21 May 2009, 21:08
Type the number ten into the box: 0
Location: California

Re: Night Vision Goggles - NURBS

Post by clintonman »

first_NURBS_lathe.jpg
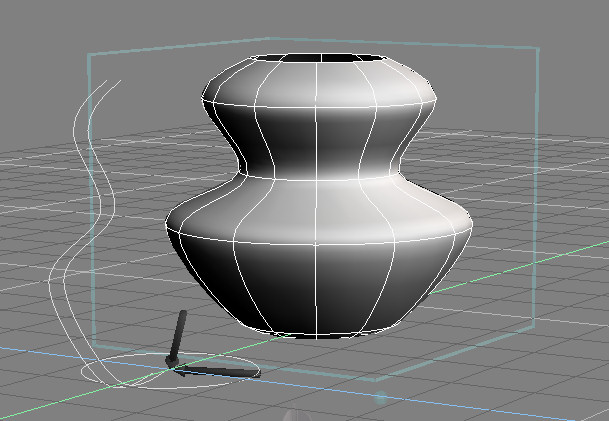
My first success with a NURBS lathe plugin. Image shows the result and the curves used to create the lathe. The circle and the second profile curve will be deleted in the final plugin. The command I found in the SDK made it looked like it would be easy to do a lathe plugin, but it was trickier than I thought. I have a working plugin that works in the z axis. I just have to get it working with the x and y axis and I'm done.
Clinton Reese

http://clintons3d.com
User avatar
Emmanuel
Chief Warrant Officer
Posts: 670
Joined: 14 Jun 2009, 06:47

Re: Night Vision Goggles - NURBS

Post by Emmanuel »

A lathe tool for NURBS opens plenty of modelling technics.
I remember in page 208 of tS's User Manual a tutorial to create a glass using tS's NURBS. The tuto was teaching how to draw the profile of the curve (in NURBS), but when I came to generate the volume and lathe the profile, user was forced to convert the object in polyhedron... loosing all the softness of a NURBS curve ! It was evident that a NURBS version of the lathe tool was missing in the workflow...

It is fantastic that so many years after tS6 release, you Clinton finally complete the toolset ! clapclap ! :worship:
User avatar
spacekdet
Captain
Posts: 1810
Joined: 27 May 2009, 15:00
Type the number ten into the box: 10
Location: On the day shift at the Utility Muffin Research Kitchen

Re: Night Vision Goggles - NURBS

Post by spacekdet »

There's always a workaround!
Hope this plugin makes things easier.
NURBS rock.
User avatar
clintonman
Captain
Posts: 5659
Joined: 21 May 2009, 21:08
Type the number ten into the box: 0
Location: California

Re: Night Vision Goggles - NURBS

Post by clintonman »

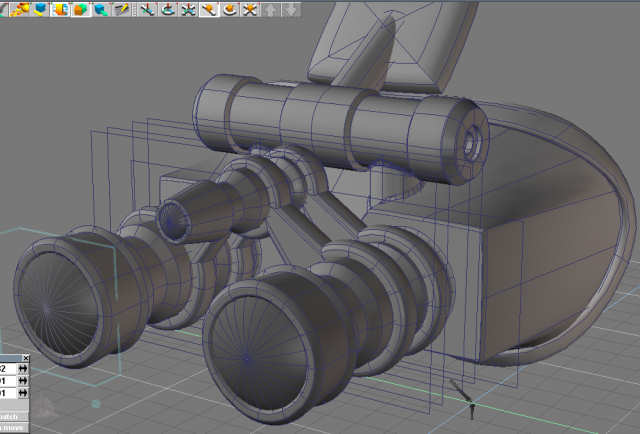
firstScope.jpg
Got the plugin working. Here's the first result. Before the scope was made I copied the NURBS pieces and manually mirrored by setting x size to negative of the original value. I also created the rubber lip with the birail tool. It's a bit lumpy now because I tried to make a correction and messed it up. I used the NURBS info tool to get the 2 halves of the patches lined up in a way so the weld NURBS patch could be used to attach them together. The cap tool was used to create the flat front surface.
firstRevolve.jpg
firstRevolveOptions.jpg
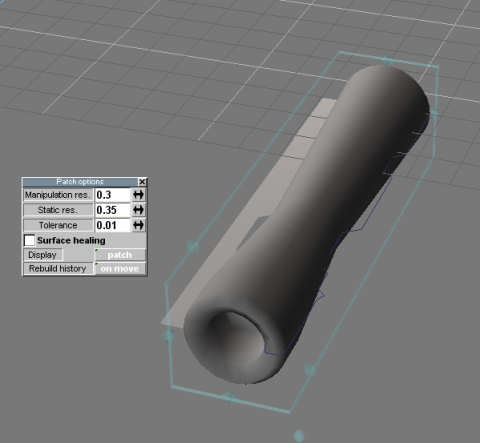
I created the profile for the curve using the workspace NURBS tools. The profile was import to modelspace and the pivot was placed at the lens center. The new plugin was run with the "use pivot for center" option to revolve/lathe it. The first result was scary and melted looking, but I found the patch options and changed the display resolution.
Clinton Reese

http://clintons3d.com
User avatar
MikomDude
Captain
Posts: 1930
Joined: 04 Oct 2010, 11:12
Type the number ten into the box: 0
Location: The Hague, Netherlands

Re: Night Vision Goggles - NURBS

Post by MikomDude »

We Are Borg

Hehe, good job though! =)
User avatar
clintonman
Captain
Posts: 5659
Joined: 21 May 2009, 21:08
Type the number ten into the box: 0
Location: California

Re: Night Vision Goggles - NURBS

Post by clintonman »

MikomDude wrote:We Are Borg

Hehe, good job though! =)
That made me laugh :lol: and thank you.
Clinton Reese

http://clintons3d.com
User avatar
clintonman
Captain
Posts: 5659
Joined: 21 May 2009, 21:08
Type the number ten into the box: 0
Location: California

Re: Night Vision Goggles - NURBS

Post by clintonman »

mountingBrackets1.jpg
mountingBrackets2.jpg
mountingBrackets3.jpg
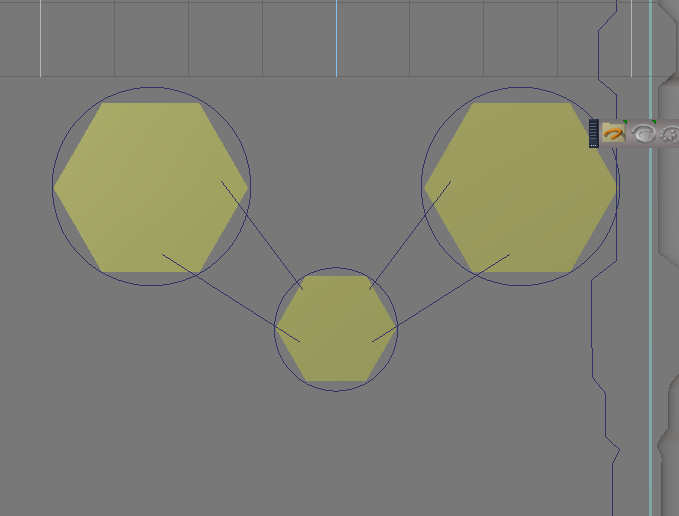
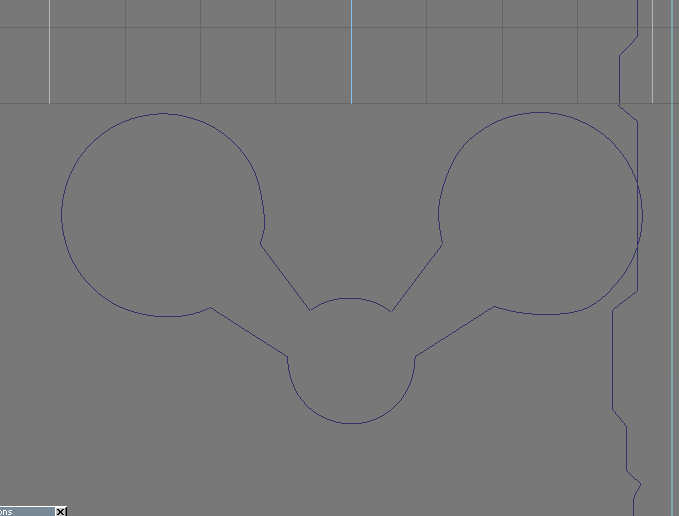
Copied the scope and created a third scope using the same method. I created the mounting brackets by creating 3 circles and some lines. I found that I couldn't draw the curves in the front view so I created some cones, centered them on the scopes, grouped them and rotated them to the ground plane to be used as reference. The internal lines were removed by opening the curves and removing points. The curves were all joined together using the weld curve plugin. The plugin has a bug since it crashes truespace when I tell it to delete the original curves. It's a consistent crash on the curves in this scene so I should be able to fix it. Next I used the nurbs cage plugin to make smaller versions of the curve copied them and then skinned them all together. The last step was capping the holes to make it solid.
Clinton Reese

http://clintons3d.com
DarkScythe
Senior Chief Petty Officer
Posts: 243
Joined: 23 Sep 2009, 08:57

Re: Night Vision Goggles - NURBS

Post by DarkScythe »

Tom Clancy's Splinter Cell......


Image
User avatar
MikomDude
Captain
Posts: 1930
Joined: 04 Oct 2010, 11:12
Type the number ten into the box: 0
Location: The Hague, Netherlands

Re: Night Vision Goggles - NURBS

Post by MikomDude »

DarkScythe wrote:Tom Clancy's Splinter Cell......


Image
Haha, yes indeed, that does come to mind =)
froo
Captain
Posts: 2554
Joined: 22 May 2009, 12:13

Re: Night Vision Goggles - NURBS

Post by froo »

Clinton,
Is this a workspace plugin? Or a Modelspace plugin? I'm confused. Either way great job! :bananathumb:
User avatar
clintonman
Captain
Posts: 5659
Joined: 21 May 2009, 21:08
Type the number ten into the box: 0
Location: California

Re: Night Vision Goggles - NURBS

Post by clintonman »

froo wrote:Clinton,
Is this a workspace plugin? Or a Modelspace plugin? I'm confused. Either way great job! :bananathumb:
Thanks, you might say it's a combination. I've been using the workspace scripts to create a lot of the basic curves used and I created the modelspace plugin "revolve curve" so I could do some lathe type process without getting a polygon model result. I also used the nurbs cage modelside plugin to shape the nurbs patches and the modelspace plugins to weld curves and patches together.
Clinton Reese

http://clintons3d.com
User avatar
clintonman
Captain
Posts: 5659
Joined: 21 May 2009, 21:08
Type the number ten into the box: 0
Location: California

Re: Night Vision Goggles - NURBS

Post by clintonman »

batteryCompartment.jpg
batteryCompartmentWF.jpg
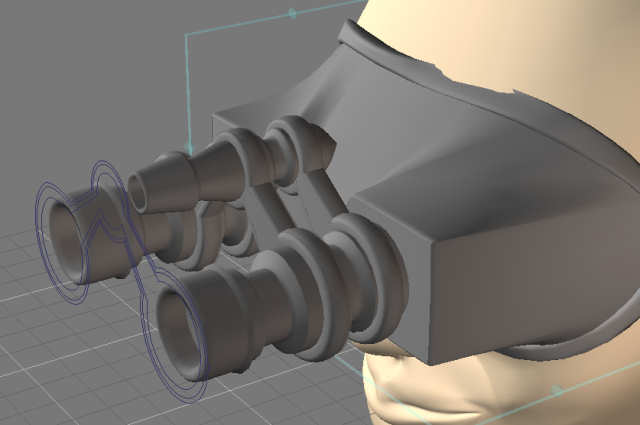
These images show the battery compartment/hinge of the goggles. I started out as a nurbs cylinder and curves were extracted from the cylinder and copied to each change of direction of the surface.
batteryCompartmentBulbos.jpg
batteryCompartmentBulbos.jpg (13.69 KiB) Viewed 5402 times
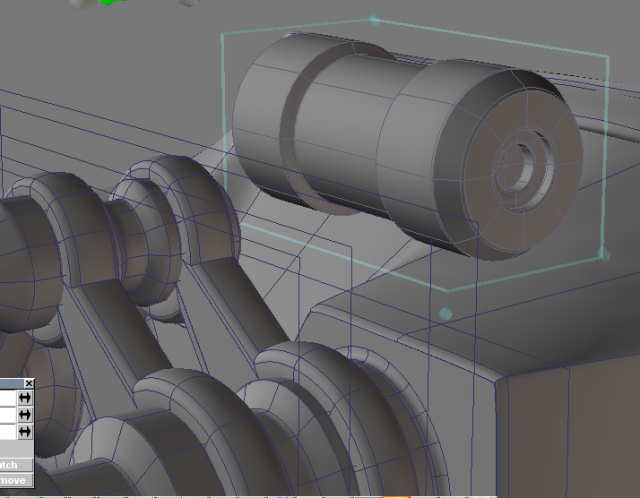
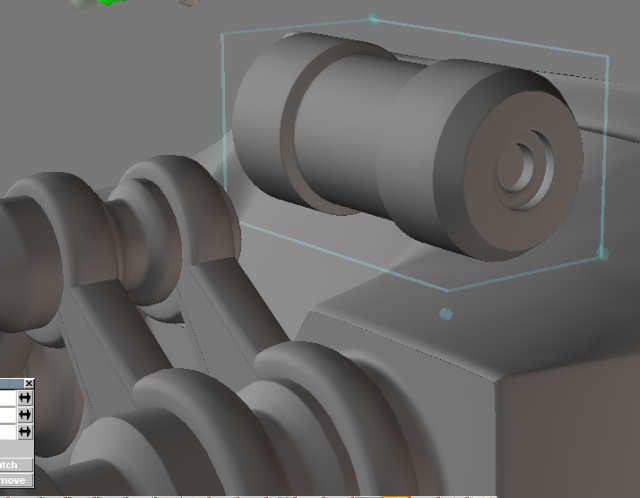
At first I tried skinning all the curves together at once but it got all soft looking. It didn't have any hard edges. Next I tried skinning each section separately one at a time and the result was a razor sharp edge. I tried doing 2 closely spaced isolines but it was too difficult to control it. I think I tried a couple of other things that didn't work out. Finally, I got the control I needed by following a few steps. I'll tell the story in the next post since I've reached my 3 image limit for this post. One more thing I did was to manually create a fillet where the scopes plug in to the main piece. I created a curve with a quarter circle profile, extracted a curve from the scope cross section and lofted the curve along it. It worked surprisingly well.
Clinton Reese

http://clintons3d.com
User avatar
clintonman
Captain
Posts: 5659
Joined: 21 May 2009, 21:08
Type the number ten into the box: 0
Location: California

Re: Night Vision Goggles - NURBS

Post by clintonman »

batteryCompartmentSkinned.jpg
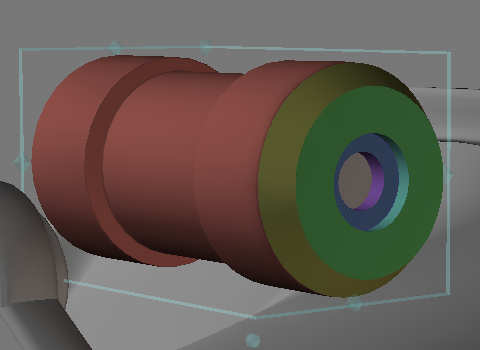
This shows the different skins that were created to give the basic shape. Each color is a different patch created by skinning a series of circles that where extracted from the cylinder and then copied to create the shapes. The orange section is the original cylinder patch. My goal was to get well defined edges without them being razor sharp. These are the steps that worked for me working through each patch orange to yellow to green etc:
1. Added an isocurve to the orange patch near the border with the yellow patch. This was so geometry was in place to give some rounding later
2. Use the stitch tool to join the orange to the yellow patch, this gives some rounding at the edge, but it still needs some work
3. Unglued/ungrouped the result to prepare for welding- not sure if this step was really needed
4. used the weld patch plugin to join the orange and yellow sections together
5. Adjust the same isocurve that was added earlier to fine tune the smoothing along the edge.

A lot of steps but it worked for me. If modelspace had a edge loop select like workspace it would have been easier to use the nurbs cage plugin to control the shape the edges. Oh, I forgot to mention I scaled the battery compartment way up in size while working on it. This made it easier to model since even a small change can change the look of a nurbs patch and the small size was making things jump too much as if grid snapping was on.

Someone mentioned Splinter Cell. After looking at that picture I'm sure the instructor must have been influenced by it. In another section of videos a gun is modeled, a pistol with a big silencer on it. :)
Clinton Reese

http://clintons3d.com
User avatar
clintonman
Captain
Posts: 5659
Joined: 21 May 2009, 21:08
Type the number ten into the box: 0
Location: California

Re: Night Vision Goggles - NURBS

Post by clintonman »

filletRailCurves.jpg
I tried to simulate fillets by converting the nurbs to polygons and taking them over to workspace and create cut edges boolean to get the general shapes. Then use the curve scripts to convert the cuts into curves and made a profile curve for the birail tool in modelside. The problem is that it only works for parts that meet at 90 degrees because the profile can't adjust as it goes. So I ended up with what looks like a bad weld job. I'll keep it for now and try a straight cross section and make higher resolution polygons to trace on.
lensAndFillets.jpg
lensAndFilletsWF.jpg
I added the actual lenses and reshaped the scopes using the nurbs cage with workspace point editing. I updated the nurbs cage plugin and used it with an updated Bridge Synchronize script so I could reshape the nurbs using workspace tools. The lenses were created with the lathe nurbs plugin and the forehead piece was a series of skinned curves and a cylinder just plugged into the battery compartment.

These are the steps I took to edit nurbs in workspace. Both modelspace and workspace 3d views must be visible:
  • right click the nurbs cage button and choose workspace mode if needed
    left click to activate the cage
    exit pe mode, switch to workspace and edit the cage. be careful not to edit the nurbs geometry.
    Press the "sync now" button of the Bridge Synchronize script to update the modelspace cage/nurbs
    To update workspace nurbs press the Cycle bridge button of the synchronize script. Click the "Sync from modeler" button
The only disappointing thing about the process is that the edge loop selection doesn't work on nurbs type geometry.
Clinton Reese

http://clintons3d.com
DarkScythe
Senior Chief Petty Officer
Posts: 243
Joined: 23 Sep 2009, 08:57

Re: Night Vision Goggles - NURBS

Post by DarkScythe »

that's a badass work clintonman :superbanana:
User avatar
Draise
Captain
Posts: 3200
Joined: 21 Sep 2009, 19:33
Type the number ten into the box: 0
Location: Bogota, Colombia

Re: Night Vision Goggles - NURBS

Post by Draise »

Interesting, I didn't know you could edit NURBs on the the WS. That's cool, I prefer using the navigation and PE of the WS hands down. I think I will have to follow this tutorial when I have some time these days! Thanks for sharing the process Clinton, again, you're legend. :worship:
User avatar
clintonman
Captain
Posts: 5659
Joined: 21 May 2009, 21:08
Type the number ten into the box: 0
Location: California

Re: Night Vision Goggles - NURBS

Post by clintonman »

interiorAndGrouped.jpg
hoseAndNewFillet.jpg
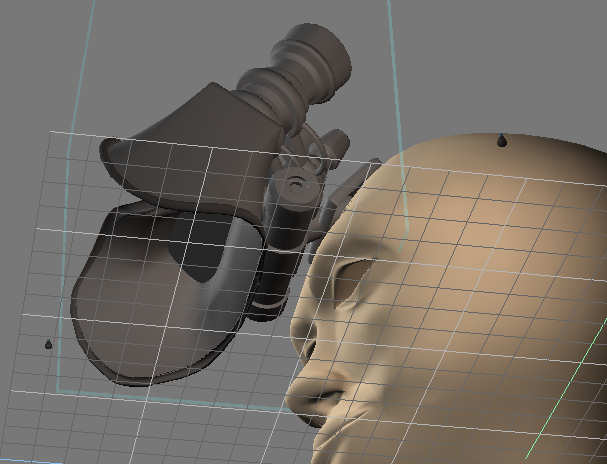
I spent some time trying to do a better fillet and it did turn out better, but it was a lot of work. This time I was more careful when selecting the points of the boolean slice to make the curves and when it came time to skin the curves I only used 2 curves for each fillet which gives a flat surface instead of a fillet style curve. I won't be doing any more fillets unless the surfaces are at 90 degree angles. The goggles look better with the fillets, but it can be a lot of work for a small detail. I also thinned the rubber seal, added hoses, interior geometry and grouped it all together so it can flip up at the battery case/hinge.
Clinton Reese

http://clintons3d.com
User avatar
clintonman
Captain
Posts: 5659
Joined: 21 May 2009, 21:08
Type the number ten into the box: 0
Location: California

Re: Night Vision Goggles - NURBS

Post by clintonman »

nurbsCageDeform.jpg
I just made a discovery. Recently I updated the nurbs cage plugin so it would respond to workspace model changes by right clicking and choosing the new workspace mode for the tool. This new mode also makes it possible to use the deform tools in modelspace on the cage and the nurbs will follow along. Picture shows a nurbs with the cage applied being deformed by the deform tool.
Clinton Reese

http://clintons3d.com
User avatar
clintonman
Captain
Posts: 5659
Joined: 21 May 2009, 21:08
Type the number ten into the box: 0
Location: California

Re: Night Vision Goggles - NURBS

Post by clintonman »

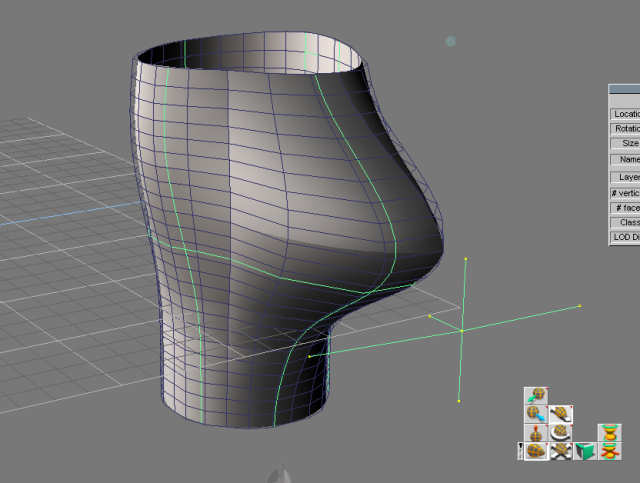
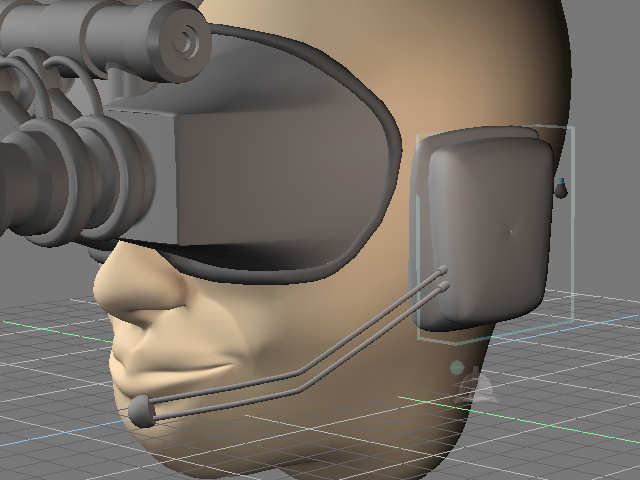
headPhoneAndMic.jpg
Added the headphones and mic. Made using the loft tool on a curve and a circle and a flattened sphere with a portion removed and capped for the microphone boom. The headphones turned out a little funny looking. The head the instructor used was more vertical in the ear area so when I used the same technique of forming the curve to the head the bottom ended up much fatter. In the end I'll just reload the curves, rotate them and re-skin to get a better shape. The other challenge was that the head I'm using doesn't have any ears so I had to guess the position and size.
2 video lessons to complete the series.
Clinton Reese

http://clintons3d.com
User avatar
clintonman
Captain
Posts: 5659
Joined: 21 May 2009, 21:08
Type the number ten into the box: 0
Location: California

Re: Night Vision Goggles - NURBS

Post by clintonman »

strapCurves.jpg
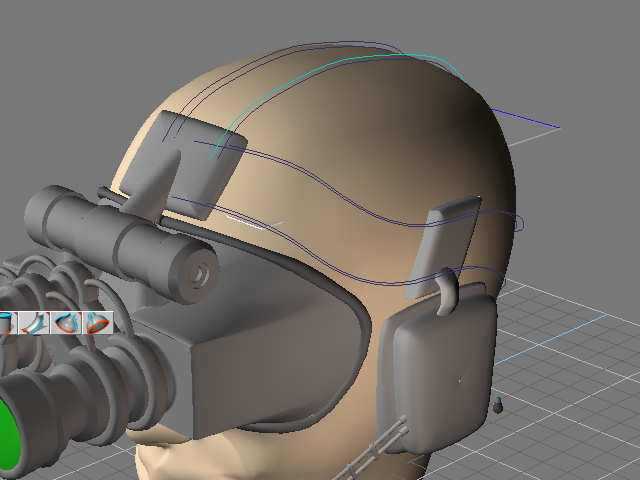
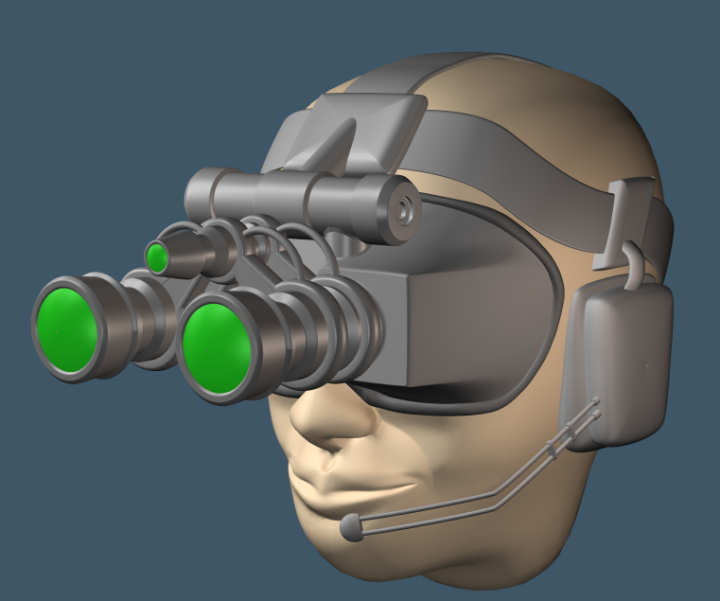
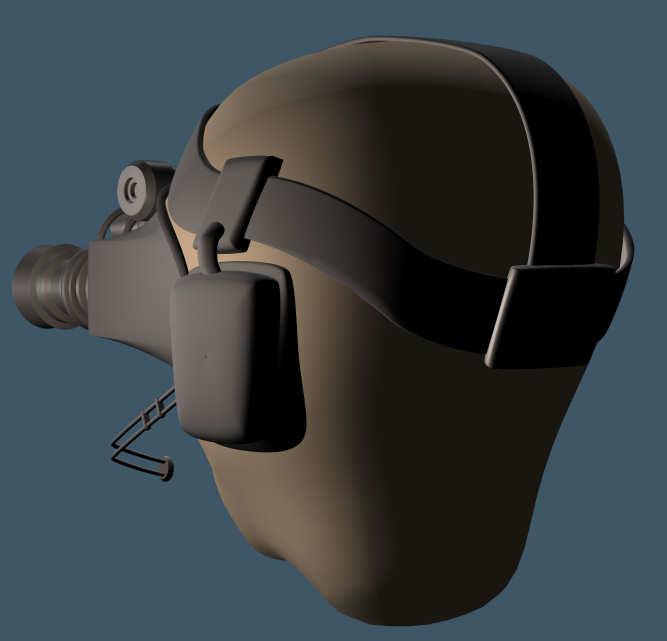
I'm calling it done now. I used workspace to create the curves for the straps and skinned them in modelspace.
finalFront.jpg
finalBack.jpg
Clinton Reese

http://clintons3d.com
jamesmc
Captain
Posts: 1776
Joined: 08 Jul 2009, 15:35

Re: Night Vision Goggles - NURBS

Post by jamesmc »

Pro work Clinton!

Excellent work flow and implementation...
Walk by faith, not by sight.
User avatar
Steinie
Captain
Posts: 2958
Joined: 21 May 2009, 17:38
Type the number ten into the box: 10

Re: Night Vision Goggles - NURBS

Post by Steinie »

There are two types of modelers, the Artsy don't give a hoot about poly count, if it looks good it is acceptable...me.
Then there are those who model with forethought, using established modeling methods and creating amazing realistic models, you. I am often jealous. :bananathumb:

Return to “Work in Progress”